

Installation
To install orbs complete the following steps:
- Find the orb download file.
- Use the download file to install the orb.
Find the Orb Download
This is covered in detail elsewhere. See the Find the download tech skill.
Use Windows Explorer to locate the orb download. In Figure 1 the latest download of the Love remedy orb has been downloaded and located in the Downloads folder.
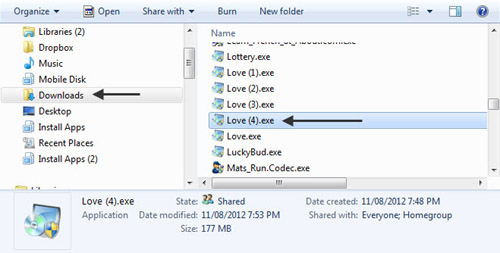
Figure 1 - Orb download location
Install the Orb from the Download
A downloaded orb file has a file name in the format: Orb.exe. An exe type of file is a program which executes when it it is opened. Orb.exe files are programs which install the orb to a drive and folder that you specify during the setup for the installation.
- Locate the downloaded orb exe file (Figure 1)
- Place the mouse cursor over the file name and rapidly click twice with the left mouse button.
- Depending on your Windows security settings, you may now see a user account control warning asking you if you want to allow the program to make changes to the computer. Place your cursor over the Yes button and click once with the left mouse button.
- The orb setup wizard starts with a Welcome window. Place the mouse cursor on Next and click once with the left mouse button (Figure 2).
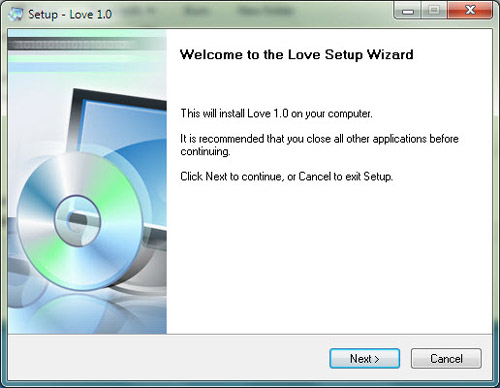
Figure 2 - Setup Welcome screen.
5) The Licence Agreement window now opens. To proceed with the installation, click I accept the agreement using the left mouse button then click Next with the left mouse button (Figure 3).
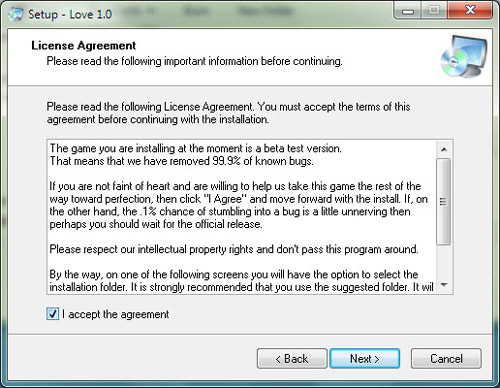
Figure 3 - License Agreement
6) The Select Application Folder window now opens (Figure 4). The destination folder is by default set to C:\goddgames\Orb Name. In this case the Love orb is being installed to C:\goddgames\Love.
Do not make any changes to the name of the destination folder.
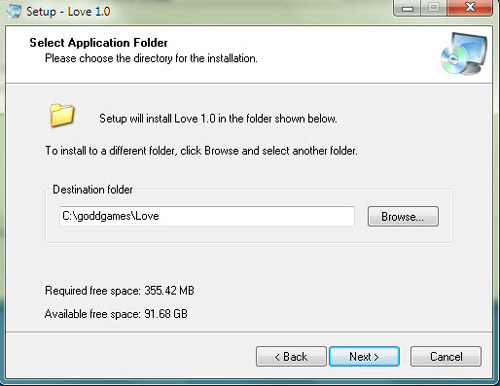
Figure 4 - Application folder selection.
7) The Select Programs Menu Folder window now appears (Figure 5). Leave the Create shortcuts on the Desktop checked. Shortcuts enable you to find and run the orb after installation. Proceed with the installation by clicking Next.
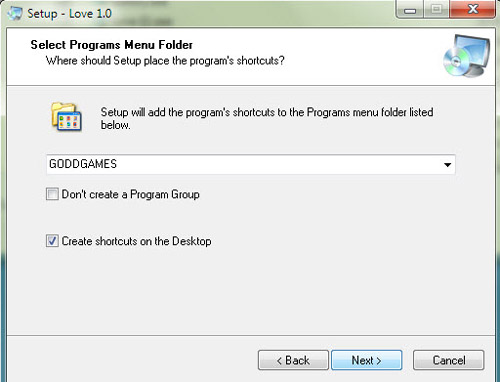
Figure 5 - Create shortcuts.
8) The Ready to Install window opens (Figure 6) and you are given the opportunity to go back and make changes before beginning the installation. Click Install with the left mouse button to continue.
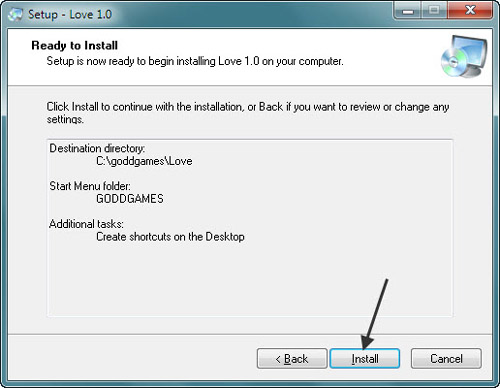
Figure 6 - Ready to install.
9) The window shown in Figure 7 shows that the program is installing on your hard drive. This may take several minutes and now is a good time to take a break while you leave the program to install.
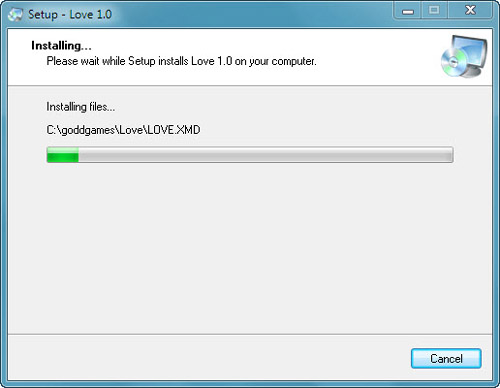
Figure 7 - Installation progress window.
10) After installation, the orb is launched by default when you click Finish. Uncheck the Launch (Orb) box by clicking on it using the left mouse button if you want to prevent it from launching immediately. End the installation by clicking on Finish using the left mouse button (Figure 8).
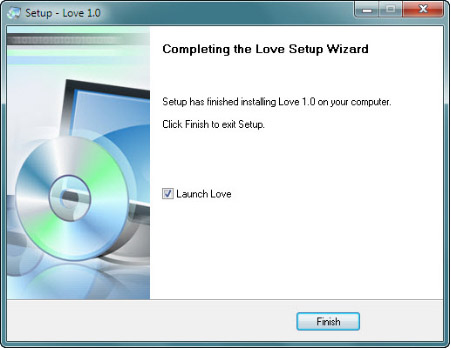
Figure 8 -Finishing the installation.
11) After installing an orb you may see the installation warning shown in Figure 9. It is normally of no concern. Place the cursor on This program installed correctly and click with the left mouse button to close the window.
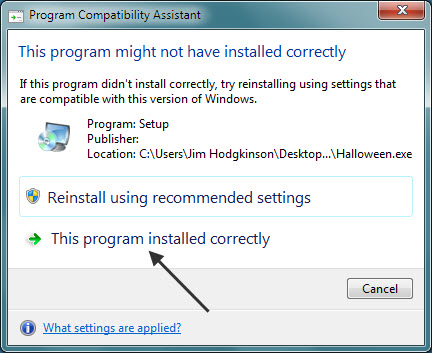
Figure 9 - Installation warning.
12) Notice, finally, that there is now a shortcut to run the orb placed on your desktop (Figure 10). This completes the installation.
Figure 10 - Orb shortcut.